Why won't the custom page option accept my URL?
If the Custom Page option won’t accept your link when you create a new QR code, it’s usually because the URL you entered is missing the required prefix (for example, https:// or http://).
What you’ll see
You select Action → Custom Page, but the Page URL field won’t accept what you type, or the form won’t let you Save.
You entered something like
www.example.comorexample.cominstead of a full web address.
Why it happens
Page URL expects a complete URL, including the protocol at the start:
https://(recommended)http://
Most websites use https://. If you’re unsure, try https:// first.
Fix: enter the full URL (including https://)
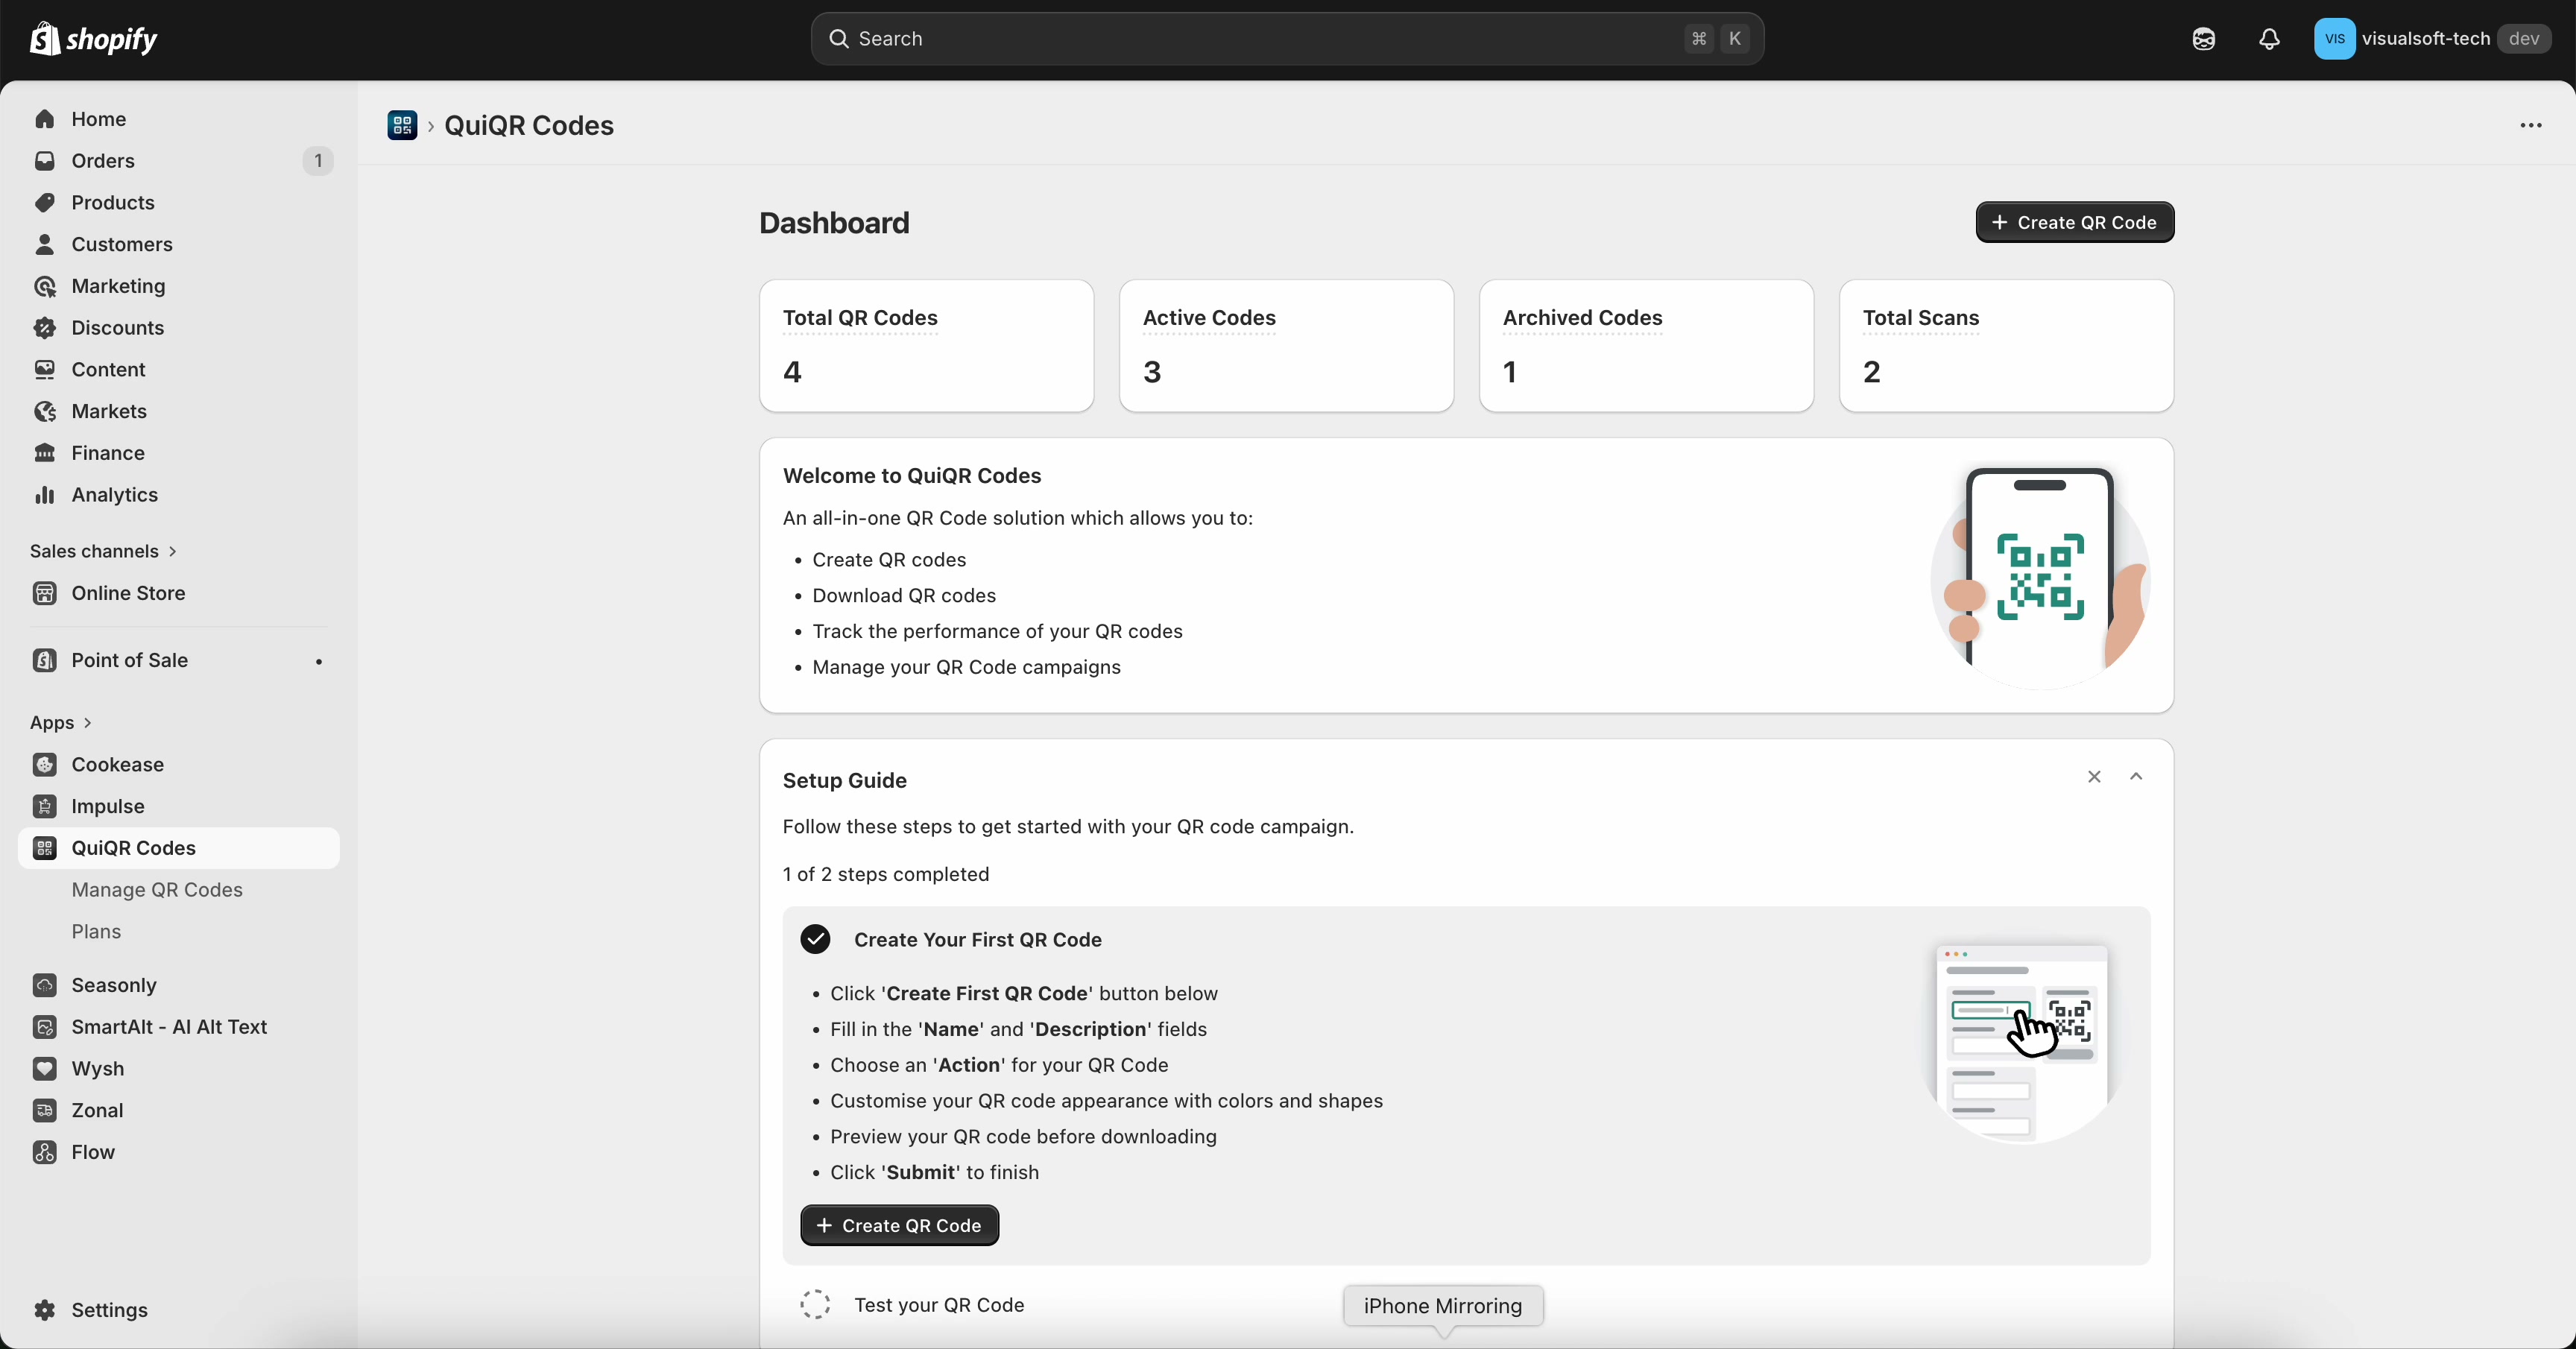
In the Shopify admin sidebar, open Apps and select QuiQR Codes. From the Dashboard, select Create QR Code (top-right).
In the Action dropdown, select Custom Page. The Page URL field appears.
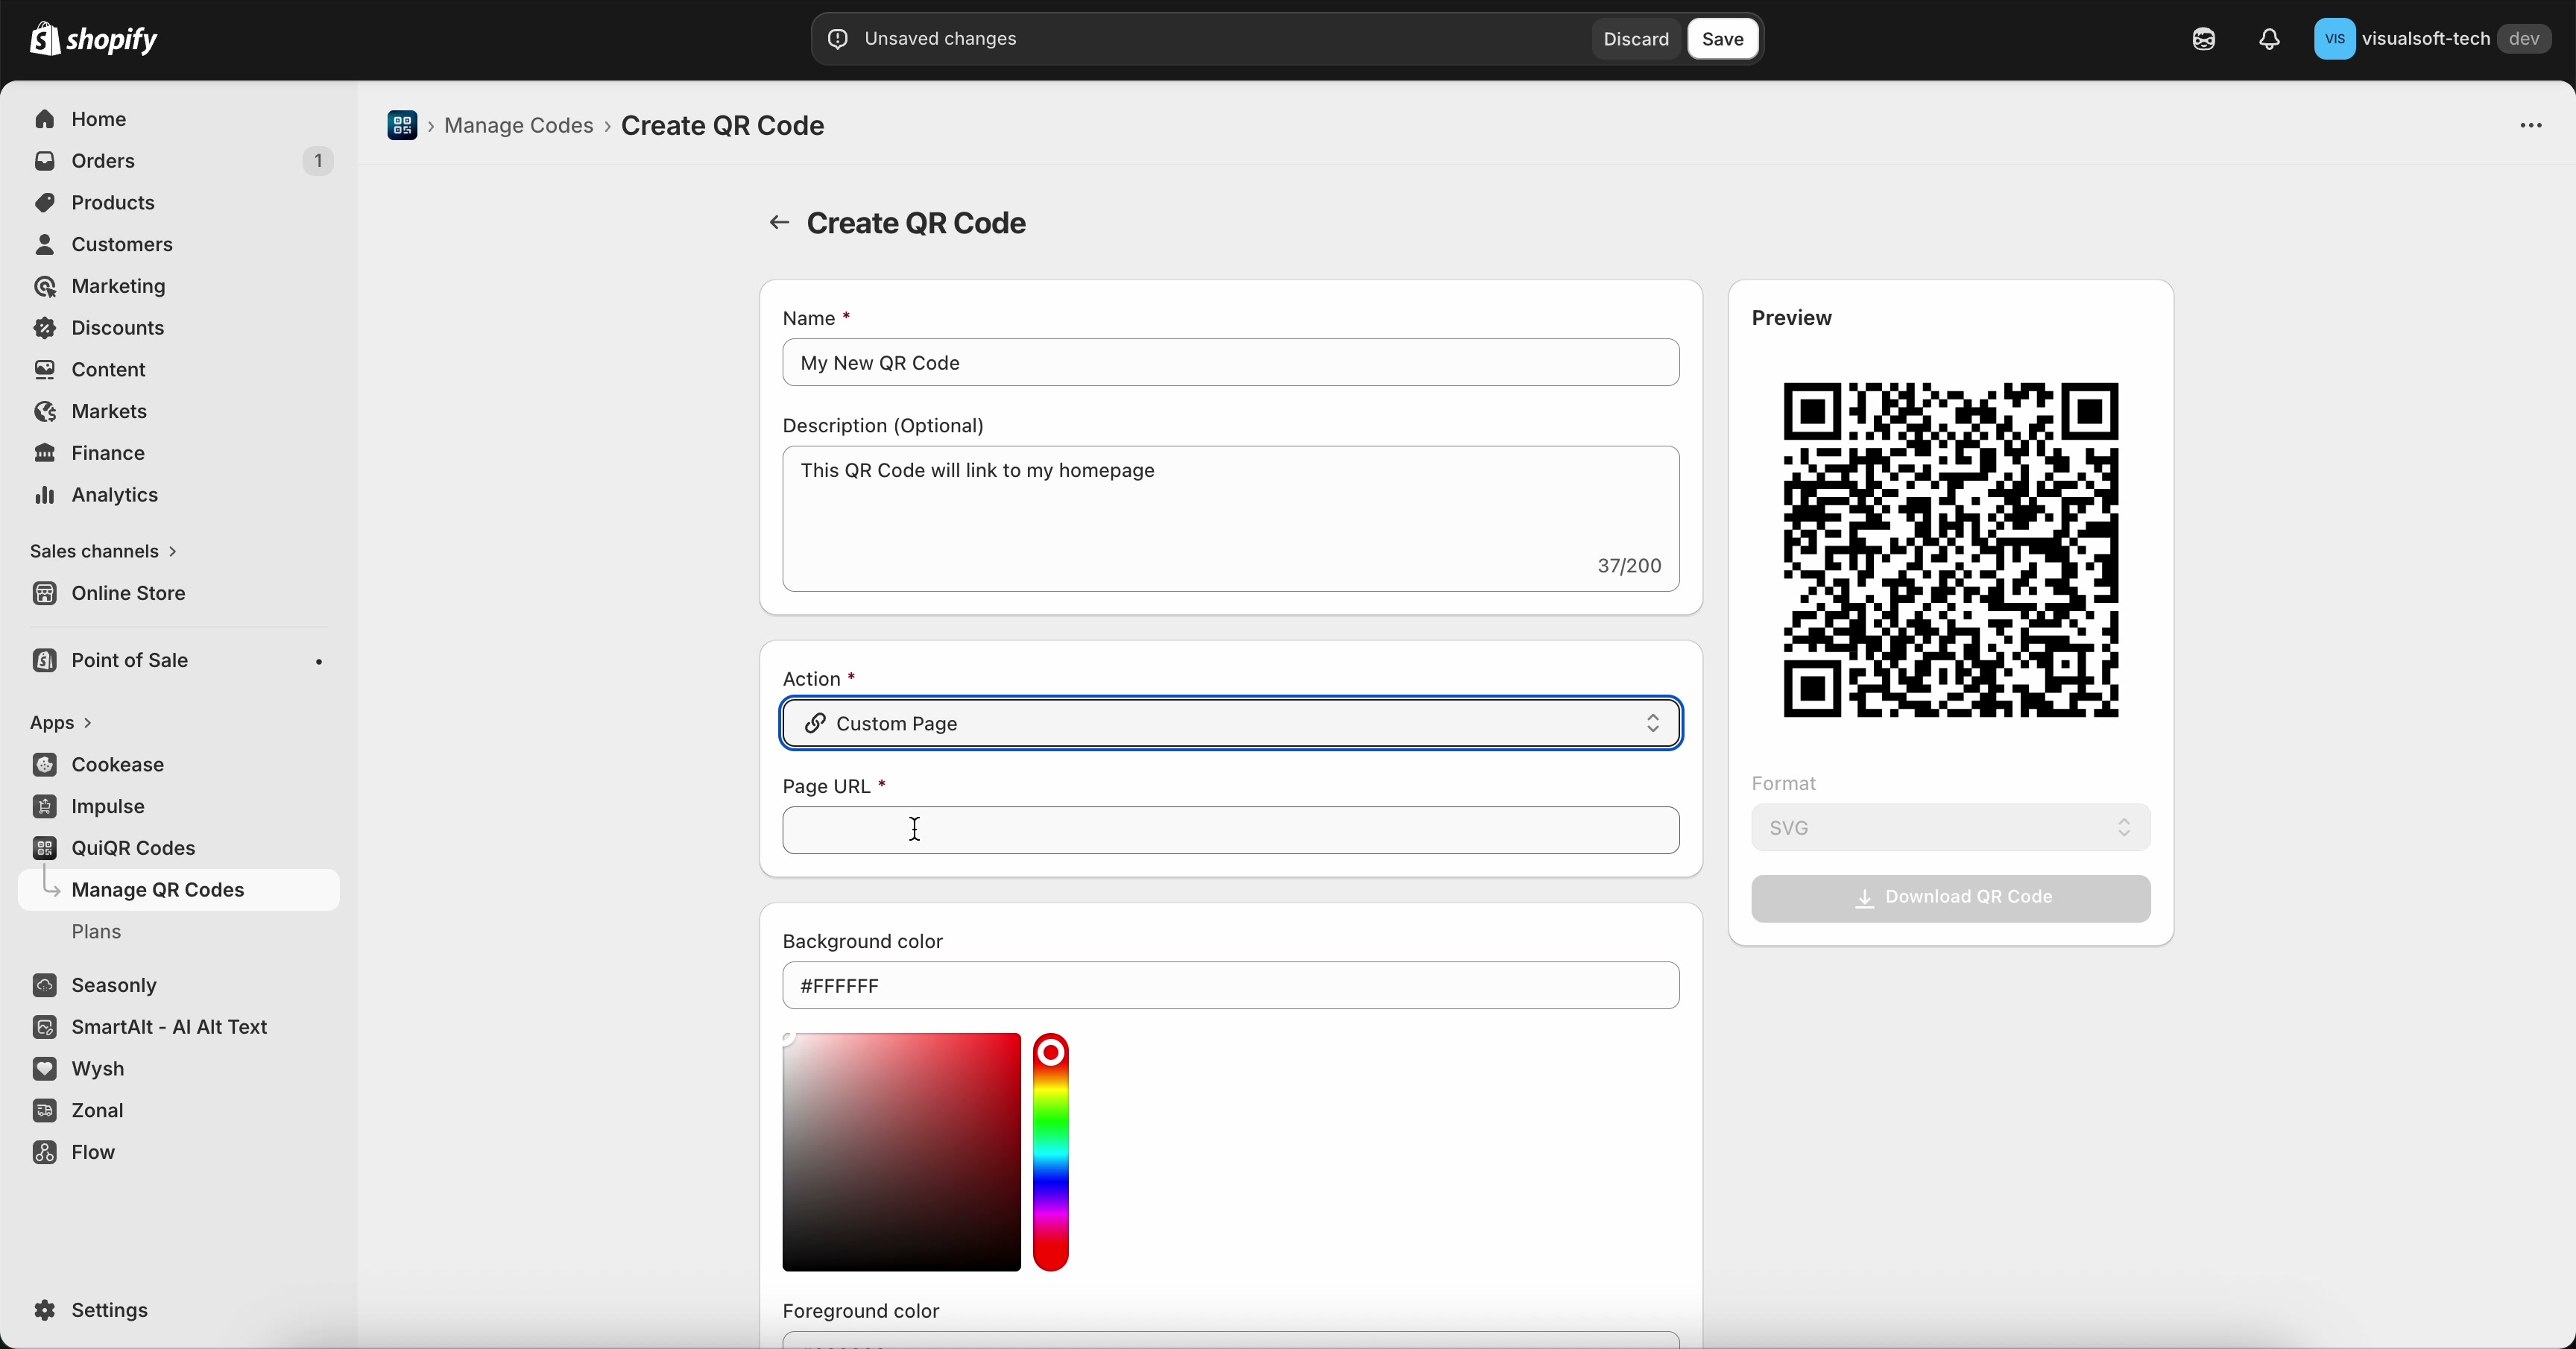
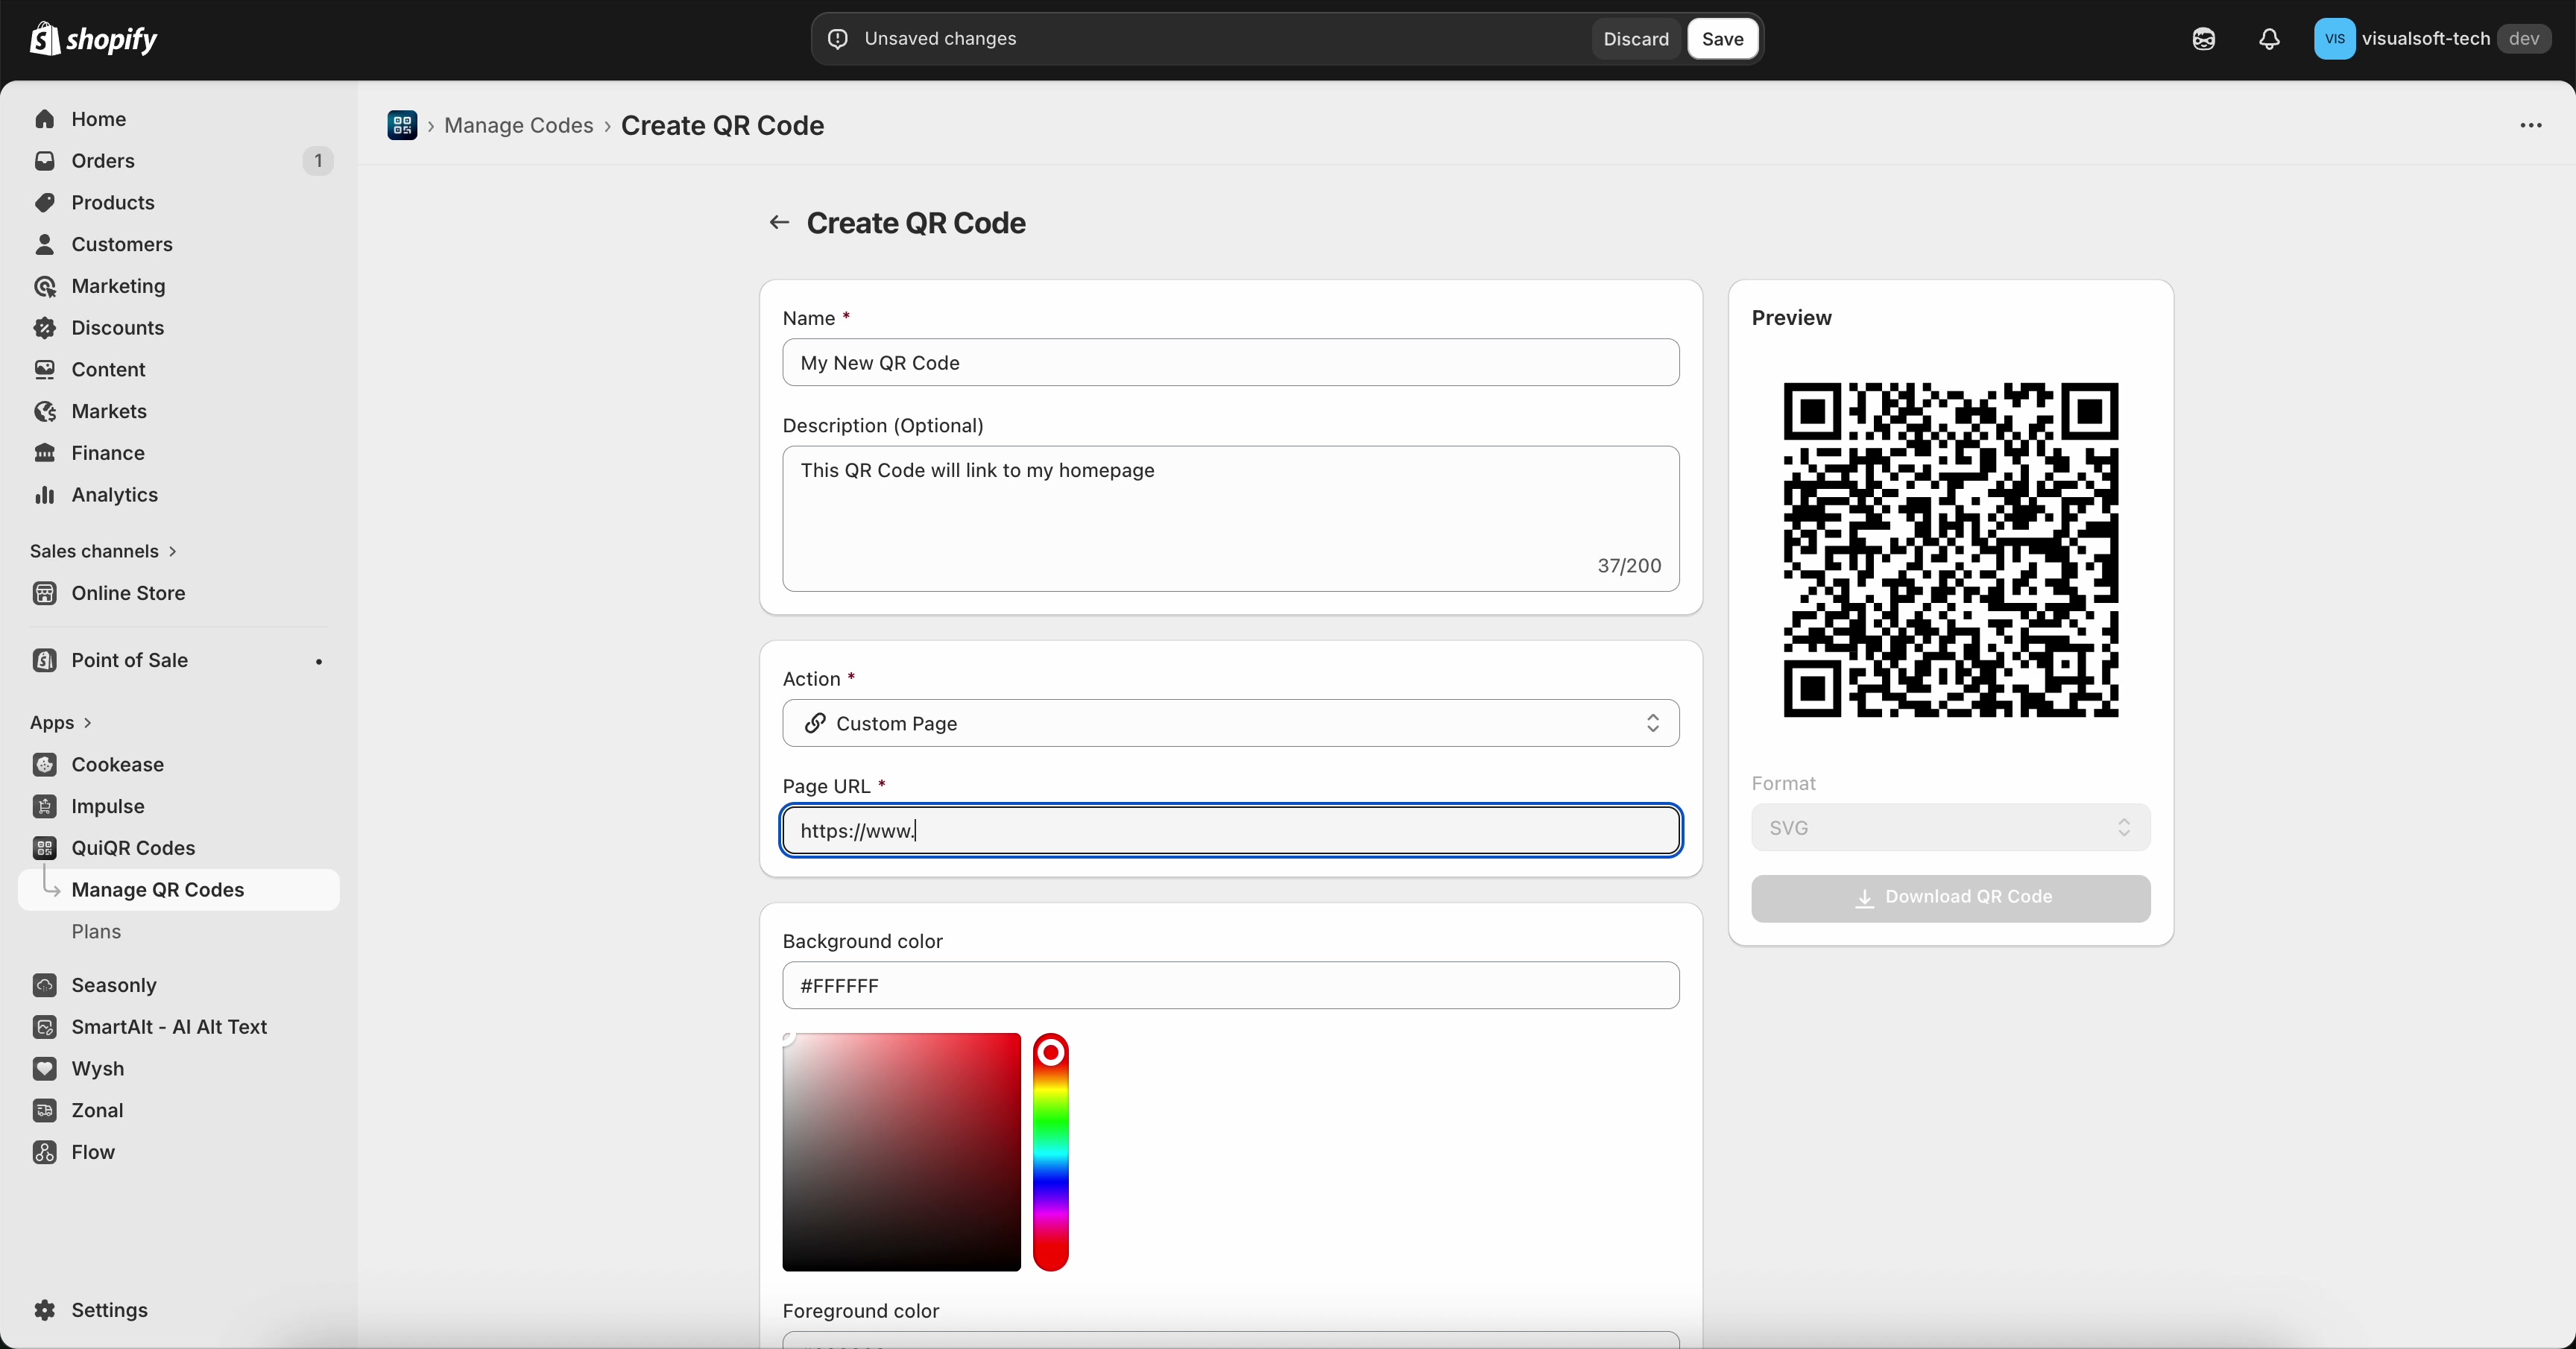
In Page URL, paste the full website address, including https:// or http://.
Accepted examples:
https://www.yourstore.com,https://yourstore.com/pages/contactNot accepted (missing prefix):
www.yourstore.com,yourstore.com/pages/contact
Select Save (top-right). Then scan the QR code with your phone camera to confirm it opens the correct page.
If you copy/paste from a document or email, double-check that the URL starts with https://. Some apps hide it visually, but Page URL still needs it.
Common mistakes to avoid
Add the protocol to the start: use https://example.com (or http://example.com if your site doesn’t support HTTPS).
Use https://www.example.com. The www part is not the same as https://.
Check for extra spaces at the beginning/end of the link and confirm there are no typos. Then scan-test the QR code before distributing it.
Always test the printed/placed QR code before distributing it widely. A small typo in Page URL can send customers to the wrong page.
Where to find your QR code after saving
After you save, your QR code appears under Manage QR Codes, where you can return to it later and download it for use.